Sunday, October 26, 2014

Making a Dovetail and Tenon saw at the Woodwright's School

My wife gave me one of the best presents I have ever received this past Father's Day, a gift certificate for a one day class at the Woodwright's School. I decided to go for a two day class on making saws. Tom Calisto was the instructor and we also had some help from Bill. I want to take Bill's class on how to sharpen saws next.

Here is Tom's web page - well worth a look - Windward Woodworks


Tom set us up to make two saws, a 15 point dovetail saw and a 13 point tenon saw. He provided us with the blanks for an open and a closed tote (handle), the brass backing, the steal for the blade and the brass screws. He actually milled the two smaller screws himself out of brass stock in his shop - rather impressive, I thought.


This is the "kit" as it was presented to us.
Here are the nuts/bolts Tom milled for us - they are brass and very nice.


The Closed Tote Blank for the tenon saw

The blank after some shaping and the brass and blade blank for the tenon saw


The start of each saw was finding a center line in order to cut a slot for the blade to fit into the tote.


Next step was to cut the mortise for the brass backing to fit into.

This is the dovetail saw

Then it was on to shaping the tote using rasps, files, sandpaper, emory paper, muscle and a lot of patience. Tom put some adhesive backed sandpaper on the insides of the tips of the clamps to better grip the tote....shhhh, don't tell Roy. The clamps were held in the bench vise. This was a rather nice set up for doing this part. I found that clamping my light directly to the tote and using the good neck to position it worked very well......to bad I did not figure that out until half way through the second tote.


Drawing a center line all the way around helped guide the shaping.


It's a start but there's more work to be done.

We needed to make holes for the screws. Since no power tools are allowed, we used a manual drill press and a brace. This was a multi step drilling process and required two people. A pilot hole followed by wider holes and counter sinking for the neck of the screws.

One person turns the crank while you hold down your tote and spin the wheel on top to lower the bit into the wood. It took some getting used to with regards to coordinating our team efforts.


We had to square out the top of the hole on one side for the square shoulder of the screws used in the dovetail saw.


The blade was fitted into the tote so we could use a punch to mark where the holes needed to go.

Punching the holes through the steel was not as easy as you may think.

Once we were happy with the shape of the totes and the fit of the blade blank, it was time to give our attention to the blade. Tom has an old teeth cutter. Load up the blank in the carrier and turn the crank and out the other side comes a blank with saw teeth cut into it.


The next step was to shape the teeth, set them and then sharpen them. This was slow tedious work and a job for younger eyes......or a lot of magnification and some tricks. I did mark every other tooth with a sharpie so I could keep track of where I was. This is one step where you do not want to be interrupted......now which tooth was I working on?????

This is the blade vise I used and the the Stanley tooth set

Once your were happy with the sharpness of your saw and it could cut a straight line, the brass backing was crimped a bit so the fit to the blade was very tight. Then the blade assembly was fixed to the tote with the screws.


The brass screws on the dovetail saw were sanded flush with the tote.


Here they are, waiting for some finishing touch ups with some sandpaper, some buffing compound and some stain.


It will be a little while before I can get these stained and buffed/polished. I'll have to post the pictures when I'm done with the finishing process.

I'd like to thank Tom for a great weekend and I would highly recommend taking Tom's class. This was my first class at the Woodwright School - located in Pitsboro, NC.

Saturday, September 27, 2014

The French Cleat Wall System


I have an 8 foot by 8 foot area I will be hanging things on the wall. I'm using a French cleat system. I cut 8 foot by 4 1/2 inch pieces of 3/4 plywood. I cut these pieces in half on a 45 degree angle.

Here's the set up I used to make the 45 degree angle cut. I needed to keep pressure on the piece next to the fence. I also used a pair of feather boards to keep the plywood pushed up against the fence

This a simple set up - it worked very well. Nothing fancy


I had no problems feeding the wood through this set up. Just needed a push stick at the end.


I have both pieces of the cleat pictured here - 2 rows are in place

The level is sitting on the top piece, which can be removed and cut into pieces and then attached to the back side of what ever I want to hang on the cleat. The bottom piece is screwed into the studs with stainless screws. 


I'll post pictures of what I build and hang as I go. I will say, this would have been a hell of a to easier to put on the wall if I had had some help. Doing things by yourself can be a real pain

This is the stud finder I'm now using. It's made by Franklin Sensors. It's about $50 on Amazon but it is very easy to use. It's accurate, reliable and has repeatable findings which decreases my frustration levels >> makes it well worth the money spent.


The lights spread over the width of the stud. I really do like this. It uses two AA batteries.

Sunday, September 7, 2014

Fishing Cabinet

I started by framing the bottom of the base with glue and screws so I could put wheels on the base.

I did the front and back and then the sides

I ran a dado groove front to back to help hold the vertical. I glued the uprights in place and then screwed from the bottom. One tip when doing this, drill the holes in the groove before putting the board on the groove. This makes it a lot easier to put in the screws.

Using squares and clamps helps to get these installed at a 90 degree  angle.

You can see the line of screws into the upright.

The front edge strip was clamped in place and then air nailed.  Wheels were placed at all 4 corners. After getting it loaded up, I'm thinking about putting 2 more wheels in the center of the front and back.


I also pocket screwed from the inside.

Side strips were glued and nailed.


Poplar was used tom make the edge banding. I started in the corners and glued and nailed them in place.


The edge banding along the top of the front strip was glued and nailed. I started at a corner after getting the banding aligned. I then made sure it was kept aligned as I continued to nail it down to the other end.


The is the strip on the back side to keep the rods in cases in place.

This is the cabinet I built the frame for.


Here is the cabinet in place in the frame.


4 rods fit on each side.


The rods cases in the back.

I drilled 1 inch holes and then used the band saw to make the slots to the holes. The slots enter along the side of the hole so there is a slight edge to the hole - this helps to keep the rods in place.

There is a strip of wood to keep the rod buts in place. I clamped a strip of wood on top of it to apply pressure as the glue dried.

This cabinet is a heavy beast. It now rolls easily and holds all of my fishing gear. I'll sand, prime and paint the medical cabinet as well as the frame when the heat and humidity drops this fall. It will look much nicer after that.

Saturday, September 6, 2014

Paulk Workbench Modification

Sometimes I only need half of  my Paulk  Workbench so I built two "Half Horses". I use this a lot and it works well for a lot of quick projects. It also serves as an out feed table for my table saw.


Sunday, August 3, 2014

A little Christmas Magic

A few days before Christmas, I found this little bench sitting outside my daughter's room. This bench belonged to my wife when she was a little girl and was handed down to my daughter. A trip to Lowes provided me with a strip of oak, some stain and some new bolts. Santa's Workshop was set up in a cluttered corner of the garage. It was a rather simple project, trimming the slats to size, drilling and counter sinking a few holes, staining the slats and putting it all together. The best part, Christmas morning. Great projects do not have to be complicated or require a lot of tools.


The finished product


Friday, August 1, 2014

The "Man Loft"

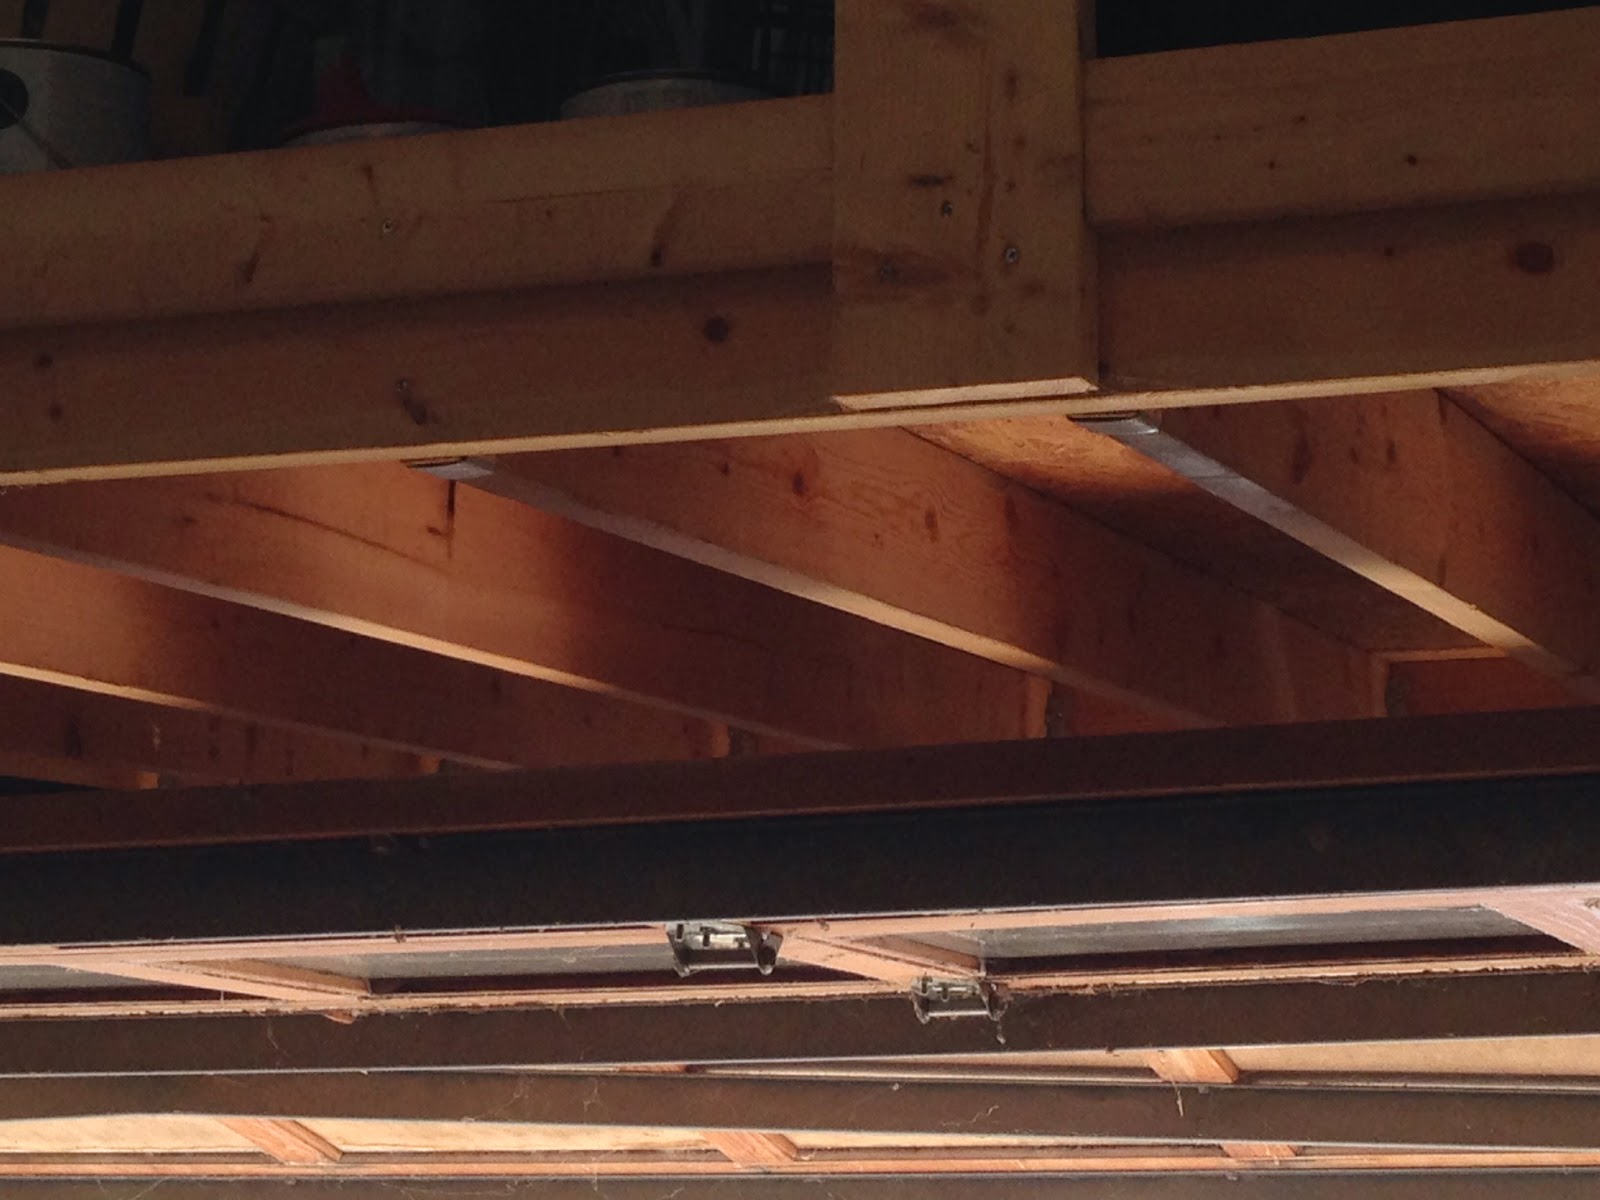
It's called the "Man Loft" because my wife says it's a good place to stick all of my stuff. It has come in quite handy and I highly recommend you build one or something similar if you have the room above your garage door. I had this built for me as this is not a one man job. I have 12 foot ceilings. This spans the entire width of the garage and is 8 feet deep. That's a lot of storage space. I have about a 33 inch clearance from the floor of the loft to the ceiling. It's not to bad to get up there and crawl around but it can get tight at times. The loft is anchored into the studs on 3 sides. It is very sturdy and holds a lot of weight. I have plans to install lights in the spaces between the joists. I just have to figure out the proper spacing and then wait for the electrician to work his magic. I have seen multiple ideas for storing things between the  joists and plan on doung some of those later....Just need to figure out which spaces will not have lights in them.

Here are some photos to give you an idea of what can be done.

You can see the wood rack to the left of the garage door opening


You can see I have pretty good clearance between the top of the door and the bottom of the joist. I'm thinking about some swing down storage boxes that fit between the joists when put up.

This just shows the fornt part of the support system - it is screwed into each stud with 2 screws.


So, if you have the space, this is GREAT storage. We do keep some seasonal stuff and infrequently used things up there out of the way. I may also use it for some shop things as well.