Sunday, July 13, 2014

Wood Storage

You can never have to much wood or enough storage

My storage ideas came from Steve Ramsey of Woodworking for Mere Mortals on YouTube (https://www.youtube.com/watch?v=nZtIEFa3Ofk&index=4&list=PL2Y7G15DrVt7tgzyaDbciZ-rm6tmToHoF), Marc Spagnuolo of The Wood Whisperer on YouTube (https://www.youtube.com/watch?v=NSUwyMdPAEg)  by way of April Wilkerson's blog (http://wilkerdos.blogspot.com/2014/06/diy-wall-lumber-rack.html#more) and YouTube video (https://www.youtube.com/watch?v=ZmZMyqbDSDY).

Jay Bates has a nice video on a Sketch Up design for a wall rack just like the one one I built below as well as a design modification using conduit pipe for the supports.
Sketch Up video http://youtu.be/T6EdflepU2E
Modification video http://youtu.be/_V4MJyrAG9w


So, while the rest of you were watching the Super Bowl, this is what I was doing. Steve made a comment that you really do not need storage for 4x8 sheet goods. If you need a sheet for a project, go out and get it just before you need it. However, you may end up with 8 foot scraps......that's part of the reason why I also built a wall rack. If I have 8 foot pieces in this rack, I can not get the rack under the "Man Loft" (that's another post in the future) or the garage door.

 When you get to this stage of the build, it is a real good idea to pre-drill holes for screws from the dado side. It makes it a lot easier to place the screws later. I now do this with all my projects that have dadoes.
 Heavy duty casters are a must - wood gets heavy.
 I have found this to be very useful - Thanks Steve for sharing this.


 For the wall rack I measured out 5 inch strips of 3/4 ply


I used my Festool track saw to cut the strips.

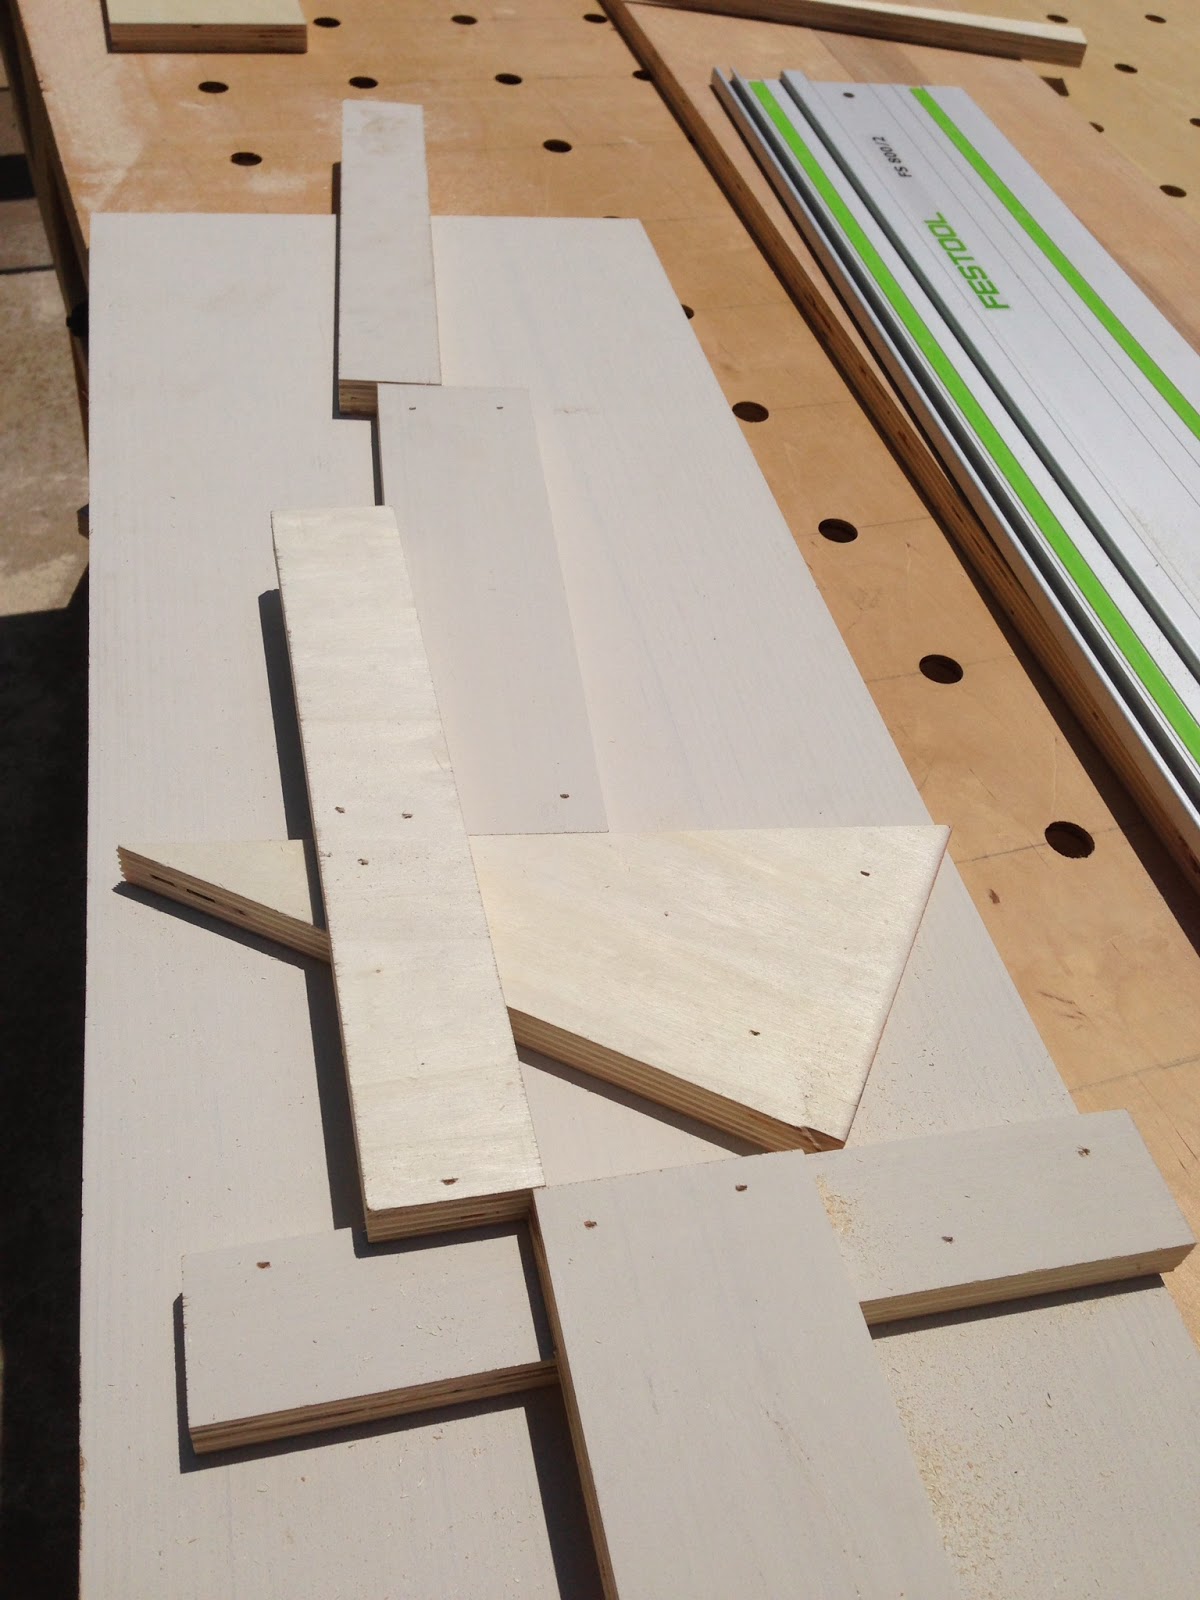
I used my Paulk Cross Cut Jig to cut the strips to 18 inch lengths.


To make the angle cut along the bottom of the support, I had to make a quick jig. Scrap wood and a pin nailer came in handy. I could not use the miter gauge with my table saw like April did as my supports are 18 inches and thus to long to use the miter gauge. April's supports are 12 inches and Marc's are 21 1/2 inches. Mine were limited to the space between the wall and the garage door track.


There is an angled cut on the right side - the line goes from a mark 3 1/2 inches from the top left corner to a mark 3 1/2 inches up from the bottom right corner. I had to make 24 of these cuts for my rack. Here's the jig I made which made making these cuts a breeze. It's not pretty but it worked great.


The piece of wood sits at an angle with the cut line along the edge of the base of the jig.


The track sits on top and the right hand edge is even with the edge of the jig. The section of the wood to be cut off extends to the right.


The 2x4s were cut to 14 3/4 inches in length. To make the support sandwiches.


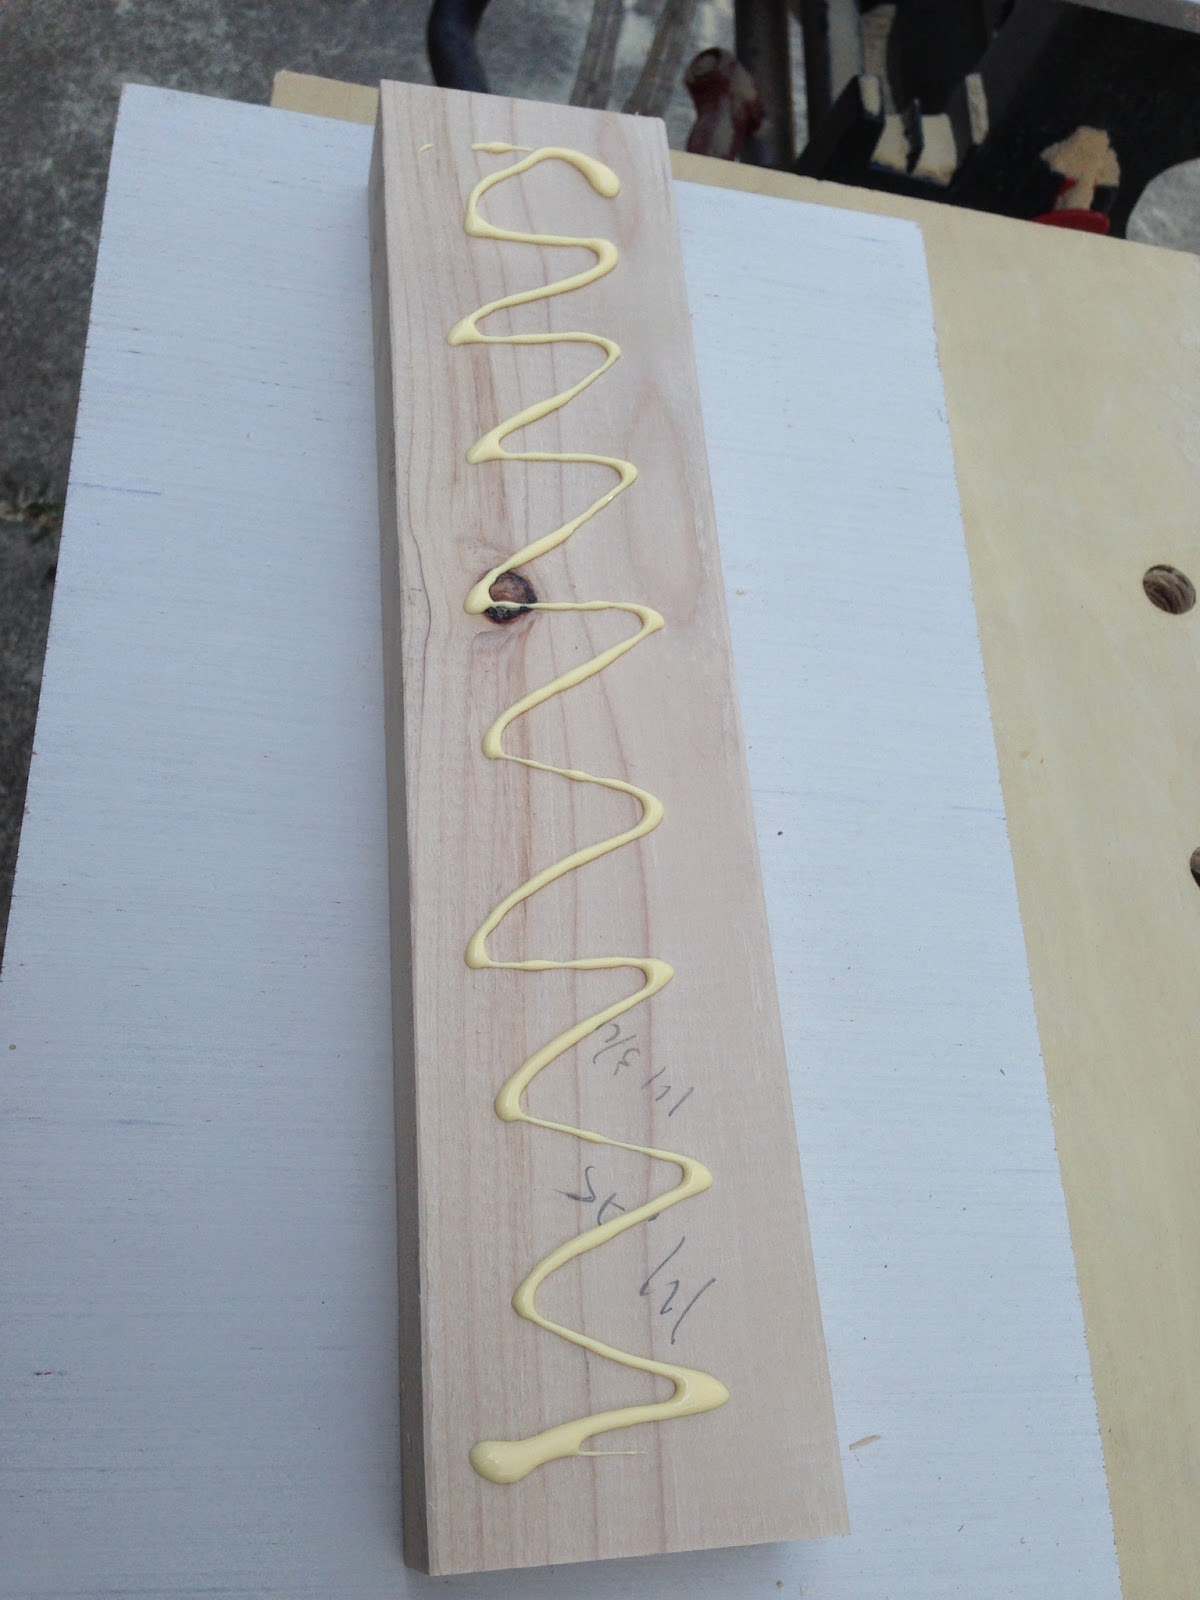
A plastic scraper is useful for spreading the glue.

I used a pin nailer to secure the plywood to the 2x4 and the used 3 stainless screws on each side for more permanent fixation. I recommend stainless screws be used since they have a much great resistance to shear force compared to dry wall screws


I trimmed my vertical supports to 3 1/4 inches wide like April did in her blog/video and recommend you do this as well. It makes for a nice flat surface on the top side of the support and makes it easier to align the plywood with the top edge of the 2x4. Attaching the vertical supports can be a bit of a challenge. I did not have an impact driver so I used my socket wrench - ended up with a sore shoulder. I used 4 inch lag bolts. I first drilled a hole just larger than the washer using a spade but. I then drilled the pilot hole just larger than the diameter of the lag screw. You must do this in order for the lag screw to work properly. It should not engage the 2x4 if it is going to pull it into the wall as you screw it into the stud. You want the lag screw to screw at least an inch into the stud. You need to consider the thickness of the wall covering (sheet rock etc) in determining the depth of the hole you drill in the vertical support in order to get good purchase into the stud. I used a ledger board like Marc did. This made attaching the vertical support much easier.

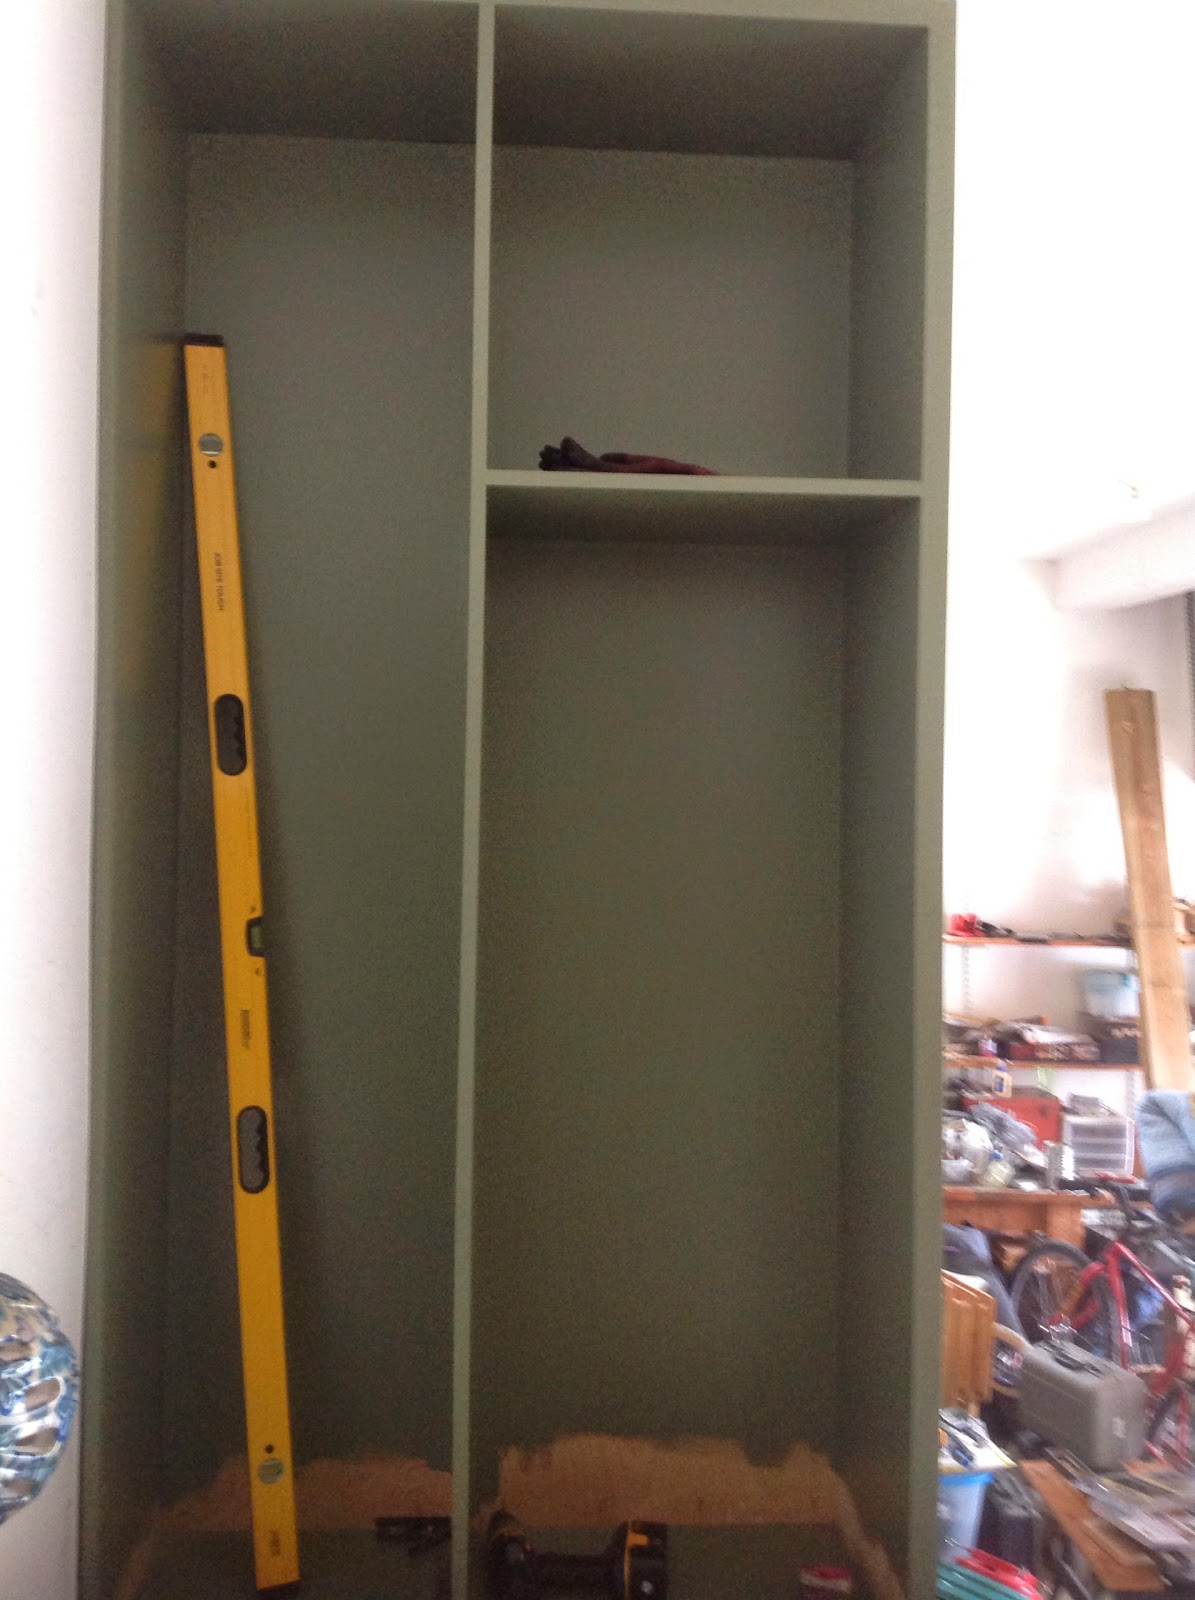
Having a long level makes attaching the wood support pieces level to each other much easier.


A short level helps with making sure the supports are level


Marc mentions that the supports should not be more than 48 inches apart or you'll have sagging issues. I had no choice due to where I located my rack. I solved the problem by using pocket screws to attach 2x4s between the supports.


I have 4 levels here just under 8 feet in length


Loaded up with all my long pieces of wood - now I can get my mobile rack under the garage door if I need to. The top rack is loaded with about 12 inches of wood above the garage door track. I store my Paulk Cross Cut Jig on the lower section for now - out of the way with easy access


Between Steve's mobile storage bin and Marc's wall rack, you should have plenty of storage. I recommend you watch both Marc and April's videos as well as read April's blog post.

Hope this helps.

Monday, July 7, 2014

The Paulk Work Bench and Cross Cut Jig

I felt I needed to include this as it is the center of my shop and an example of taking something and adjusting it to your personal needs. I needed something for breaking down sheet goods that could itself be broken down for storage. Panel saws are nice but that's all they are, panel saws. The Paulk Work bench has been used for breaking down sheet goods, repeated cross cuts and and an assembly table. I'm working on building support benches as the two halves will also serve as my all purpose work bench. This really suits my needs. I did not build in the saw support or router table as they were not needed by me. I also built mine out of 3/4 plywood instead of 1/2, like Ron did. It makes for a heavier unit but I'm not going to be moving it around like Ron does with his. I also built the cross cut jig and have found it to be quite useful. It is designed to work with the Festool track saw system but I'm sure it could be modified to work with a circular saw and one of the jigs you see all over the net that allows a circular saw to act as a track saw.

Here is a link to Ron's YouTube video on the bench. https://www.youtube.com/watch?v=sJoGTf6KL8s  He has multiple videos covering the construction of the bench. There's even a Facebook page for the bench - https://www.facebook.com/paulkworkbench

You can purchase the plans from his home page http://www.paulkhomes.com/order-plans.html
No - I do not get a kick back from this, I just think credit should be given where credit is do.

You can see here how it breaks down into the 2 halves and the supports


Here it is put together


You can see here where wood is cut out to reduce weight  but still maintain structural integrity.


Here is the simple way it is held together but a bolt, 2 washers and a wing nut. Simple, cheap and effective.


Here is the Cross Cut Jig and a link to his YouTube video. https://www.youtube.com/watch?v=XCWj36qWuQ4


Thursday, July 3, 2014

The "Mudroom Bench"

One of the first things I did was make a "Mini-Mudroom Bench". This provides storage and a place to sit while putting on/taking off shoes. I got the idea and tips for building it from a magazine. There are plenty of examples out there to look at for ideas. You can always adjust/modify to meet your needs.


The base for the cabinet (seen above) was built using pocket screws. I placed 2 levels on top, 90 degrees to each other and adjusted the feet until it was level. I then screwed the feet to the frame. The frame was then screwed to the 2x4s already attached to the brick. I built the base cabinet (seen below) using pocket hole screws. I put some 2x4s together to fill the space between the back of the cabinet and the wall. Stainless screws were used to attach the 2x4s to the studs in the wall and the cabinet to the 2x4s. The cabinet is about 1/4-1/2 inch higher than the brick landing on the left - did not want to have to deal with that uneven surface with the middle cabinet.


The middle cabinet was built to have a space for shoes/boots and a miscellaneous cubby on the left. The back side faces the work bench area and is a handy storage area. Right now it holds a lot of small power tools in their cases. I used poplar  as hardwood banding on the edges and rounded them over with the router. Gives it a little more of a finished look and takes away the sharp edges. The banding on the top side of the back extends above the surface - this helped when I put the top section on - got to back it right up to the lip and it kept me from pushing it to far back.


The top section provides storage with adjustable shelving on the left, a place to hang jackets on the right and more storage for shoes/boots. I have some shoe/boot trays from a gardening website that will fit in this space. As you can see, I had just enough sapce for ths to fit under the open garage door - something to think about in the planning stages of your projects.....and yes, I have hit a few thing opening the garge door.


It's in place - need the help of 2 friends to get it up there. Narrow clearance with the ceiling. It is pockets screwed to the middle cabinet section and I used stainless screws to screw it to the studs in the wall. That sucker is solid and not coming down. I'd rather over build than deal with the consequences of cutting corners.


I have adjustable shelving on lte left and the upper section on the right. The large space on the right is fro hanging coats and I have a boot tray that fits in the bottom. Can alos put umbrellas in there to dry and store.


In The Beginning

When I first started working on the garage, I had not thought about doing a blog so pictures are not quite what I would like but here's what I started with.

The door into the house - no real useful storage.


The site of the future "Mudroom Bench"


I had some shelving but no cabinets and no work space. 


Yes, quite the mess. I had built the Paulk Work Bench and the Lumber Cart from Woodworking for Mere Mortals and will get into that layer. While they prove to be useful, they were a pain to move around in the clutter


So, the first step was to build the "Mudroom Bench". You get a glimpse of it on the left side